How to Set Up a Digital Product in Stan Store
Every screen from Add Product to Publish, plus the three spots where most people get it wrong.
I walk Club Marketech members through this all the time. Stan makes it look simple, and it mostly is, but a couple of small things decide whether your product looks professional or thrown together. Here's the whole setup in order.
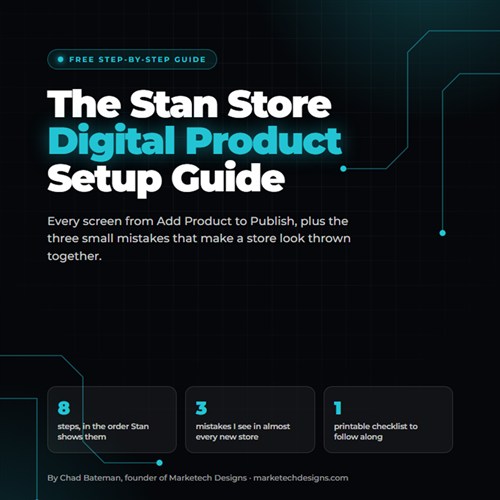
Want this as a printable guide?
Get the 8-page PDF with a checklist to follow along, plus the video where I set up a product on screen, start to finish.
Send me the free guideBefore you start
You need a paid Stan plan. Look on the left side of your Stan dashboard for My Store. If it isn't there, you're not on a paid membership yet. You'll need the $29 or the $99 plan to sell your own digital products.
Don't have a Stan Store yet? Try it free for 14 days here (that's my referral link).
1. Add the product
Open My Store and scroll all the way to the bottom. Click Add Product and pick Digital Product.
2. Build the thumbnail
The first page is the thumbnail, the card people see on your store. The preview on the right is only a preview. You can't click or drag anything in it, so do all your work on the left.
- Title: the name of your product.
- Subtitle: optional, good for one line on who it's for.
- Button: your call to action. This is what sends people to the checkout page.
- Image: search Stan's built-in photos by keyword or upload your own. You can move it around and adjust the zoom.
Make sure everything fits. If your text runs past the card into the gray area, the first thing a visitor sees looks sloppy, and it doesn't look like you know what you're doing.
3. Build the checkout page
The checkout page needs its own image, and it's a different size from the thumbnail: 1920 x 1080. If you design it in Canva, start with a 1920 x 1080 custom size so nothing gets cropped.
- Description: it fills in from the thumbnail page and you can change it. Stan can write it with AI, which is fine for a rough start, but I'd always write your own. You can add pictures, a video, links, bold, italics and strikethrough.
- Bottom title: a second call to action at the bottom of the checkout page, like "Get my digital product."
- Purchase button: it says "Purchase" by default. "Purchase now" is a small upgrade.
4. Set the price
Enter what the product costs. You can also turn on a discounted price. Say the price is $15 and you enter $40 as the other price: Stan shows the $40 crossed out next to your $15, so it reads like a sale or a coupon. If you don't want that, leave it off and buyers just see the one price.
5. Pick your custom fields
Name and email are there by default. You can ask for more, like a phone number or a short answer question such as "Why do you want this product?" A question like that is a good way to spot the people who are really in your niche. Each field can be required or optional.
6. Add what the buyer gets
There are two ways to deliver the product:
- Upload: a PDF, an image, or any file saved on your computer.
- Redirect: send buyers to a link instead. Use this for a Canva PLR template or an affiliate link.
Then fill in the product name. That's the final description of what they're getting.
7. Set up the confirmation email
The last page is Options. This is where you can add reviews, email flows, order bumps and affiliate sharing. On the $29 plan, the one I'd always set up is the confirmation email. It's the first email buyers get right after they purchase: thank you for ordering, here's your order, here are your files.
Change the wording all you want, but don't touch the gray fields. Those fill in automatically with what the customer entered at checkout, like their name. If you edit or retype one, it stops filling in. To add one, click Personalize and pick it from the list.
8. Publish and move it up
Hit publish. Your new product goes to the very bottom of your store, so people may never scroll far enough to see it. Go back to My Store and drag it up to the top, or wherever you want it.
The three mistakes I see most
- Using the thumbnail image on the checkout page. The checkout image is 1920 x 1080.
- Editing the gray fields in the confirmation email, so every buyer gets an email that doesn't fill in their name or order.
- Publishing and walking away while the new product sits at the bottom of the store.
Want to watch it done?
Grab the free guide and you'll get the video walkthrough too, where I set up a product on screen from start to finish, plus a printable checklist.
The Stan Store Digital Product Setup Guide
All 8 steps, the 3 mistakes to avoid, a printable checklist and the full video.
Send me the free guideWant more trainings like this? Club Marketech has a classroom with trainings on tools like Beacons, Pillar and Systeme.io. See what's in Club Marketech.
If your Stan Store is fighting you right now, book a free 15-minute tech sprint and we'll fix it together. And if you haven't opened your Stan Store yet, you can try it free for 14 days here (my referral link).
Written by Chad Bateman, founder of Marketech Designs.